Show List
Tutorials > IBM WebSphere Application Server > Installation and Setup for IBM WebSphere Application Server
Installation and Setup for IBM WebSphere Application Server
In order to install IBM WebSphere Application Server, you typically need to first install IBM Installation Manager.
IBM Installation Manager is a tool used for installing, updating, and managing software packages from IBM. It helps streamline the process of installing and maintaining IBM software products, including WebSphere Application Server.
Here are the general steps you would follow:
Download IBM Installation Manager
: Obtain the IBM Installation Manager package from the official IBM website: https://www.ibm.com/docs/en/spm/7.0.11?topic=server-installation-manager.
Follow the steps to download. You will need to install Java and IBM Download director if not already installed.
Install IBM Installation Manager
:- Run the installation executable or script for IBM Installation Manager.
- Follow the prompts in the installation wizard to complete the installation.
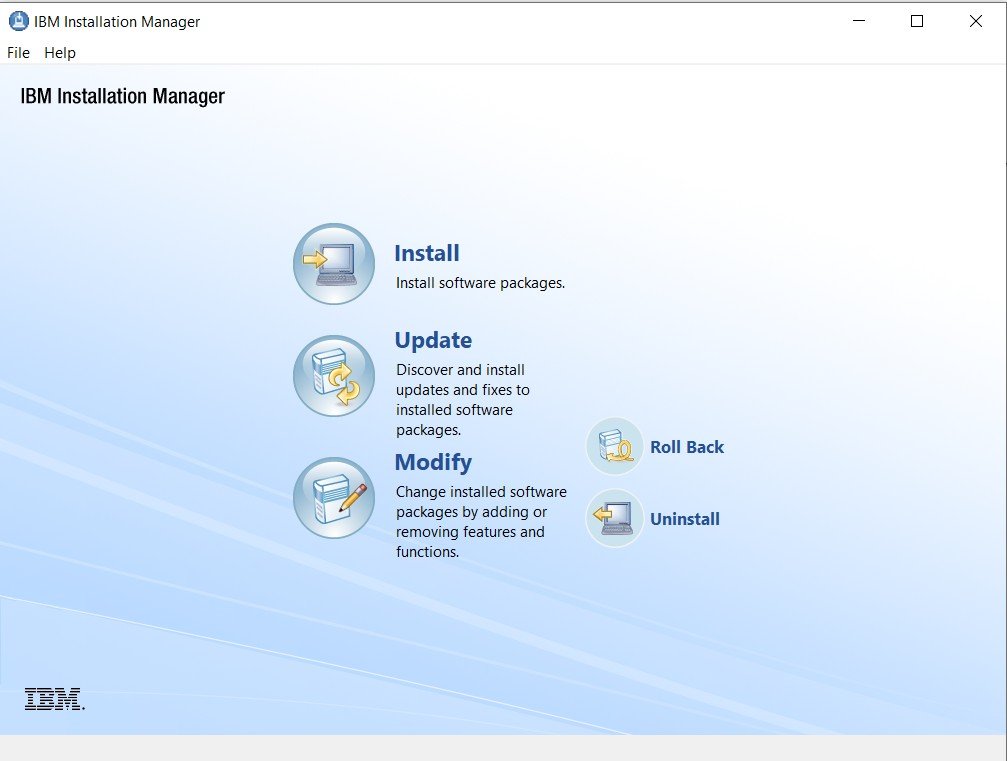
Launch IBM Installation Manager
:- Once Installation Manager is installed, you can launch it to manage the installation of other IBM software, including WebSphere Application Server.
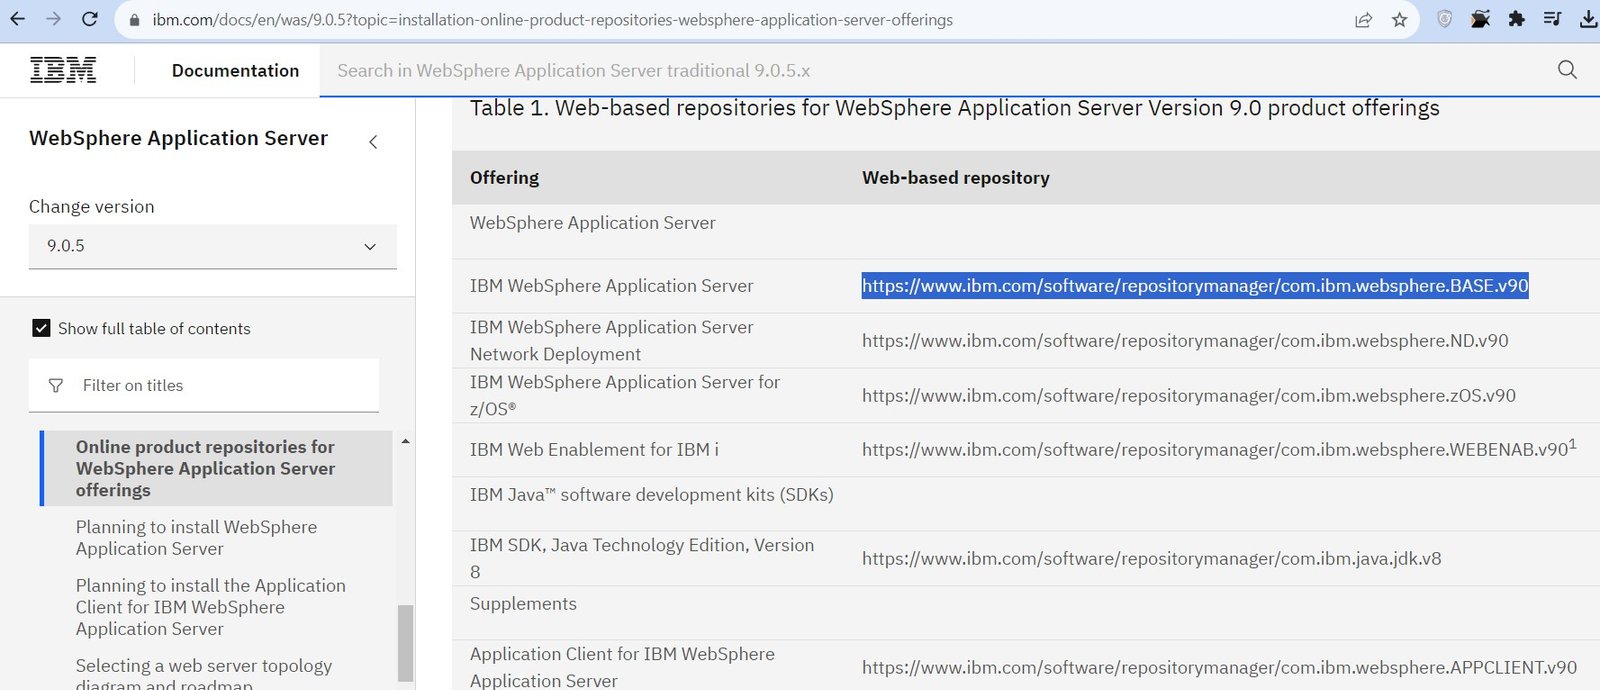
- Repository for the IBM WebSphere Application server can be found from the official page: https://www.ibm.com/docs/en/was/9.0.5?topic=installation-online-product-repositories-websphere-application-server-offerings
- Copy the URL of the base version to add on the repositories in installation manager.
-
Install WebSphere Application Server using Installation Manager
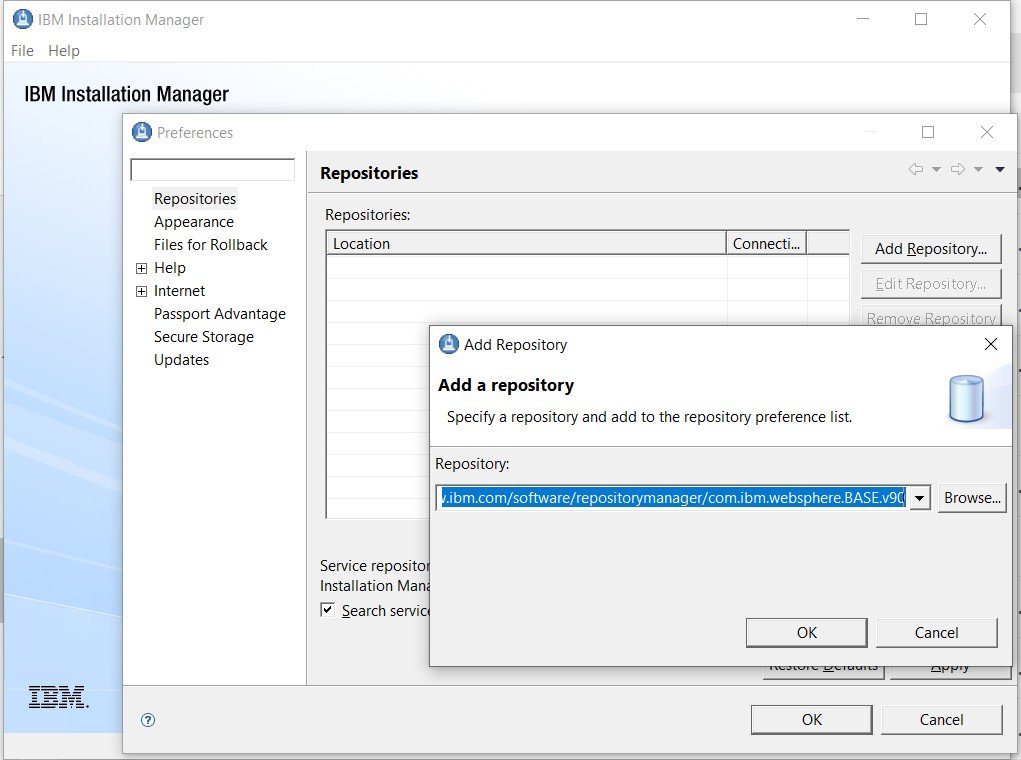
:- Launch IBM Installation Manager. Under File -> Preferences click on 'Add Repository' and add above repository URL
- Use Installation Manager to locate and install WebSphere Application Server. This involves providing the necessary installation package and following the prompts in the wizard.
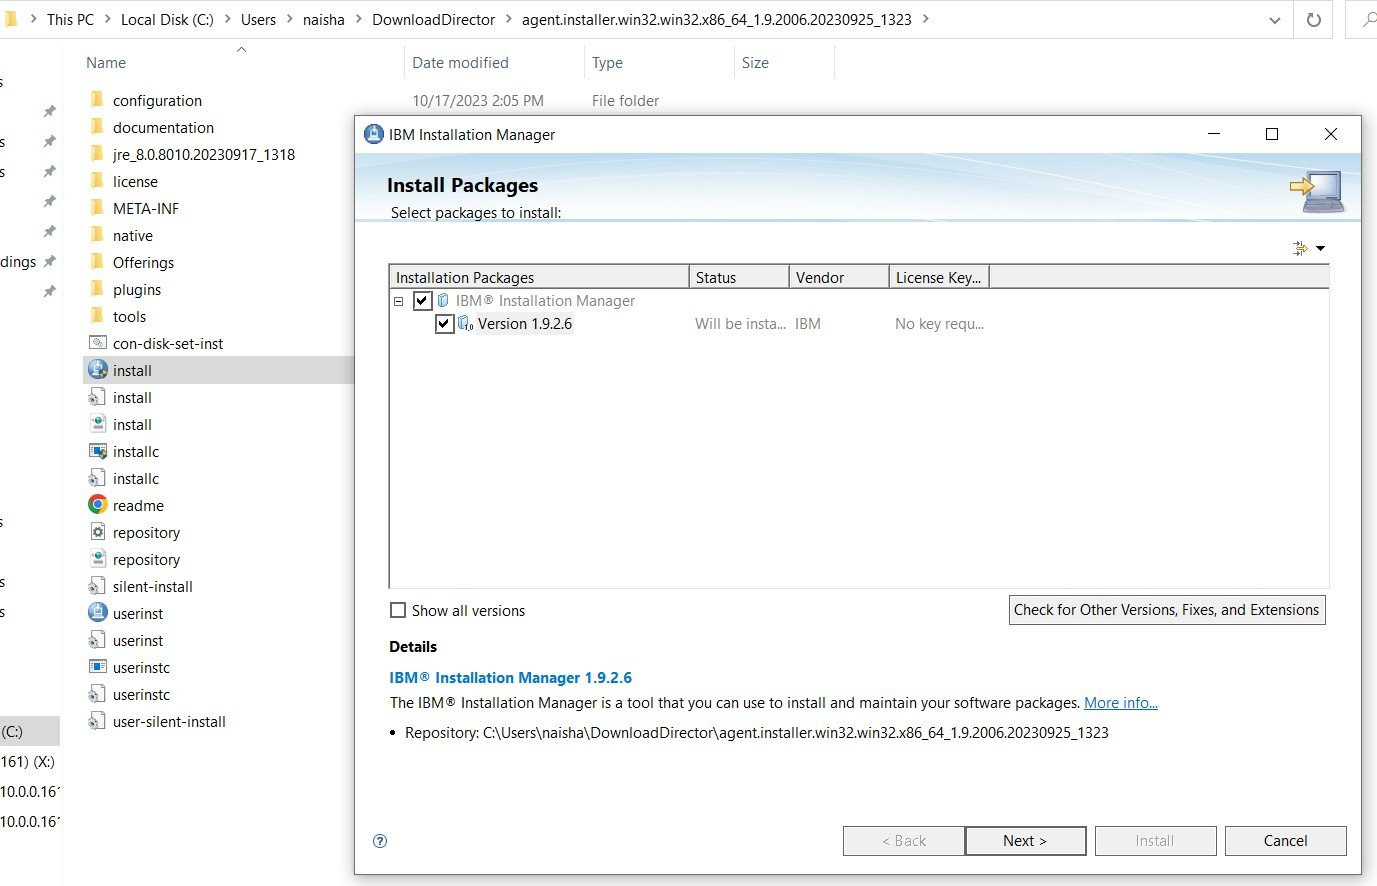
Click on "Install" option on the home page of IBM Installation manager. It will now fetch the details from the repository to install WebSphere Application Server.
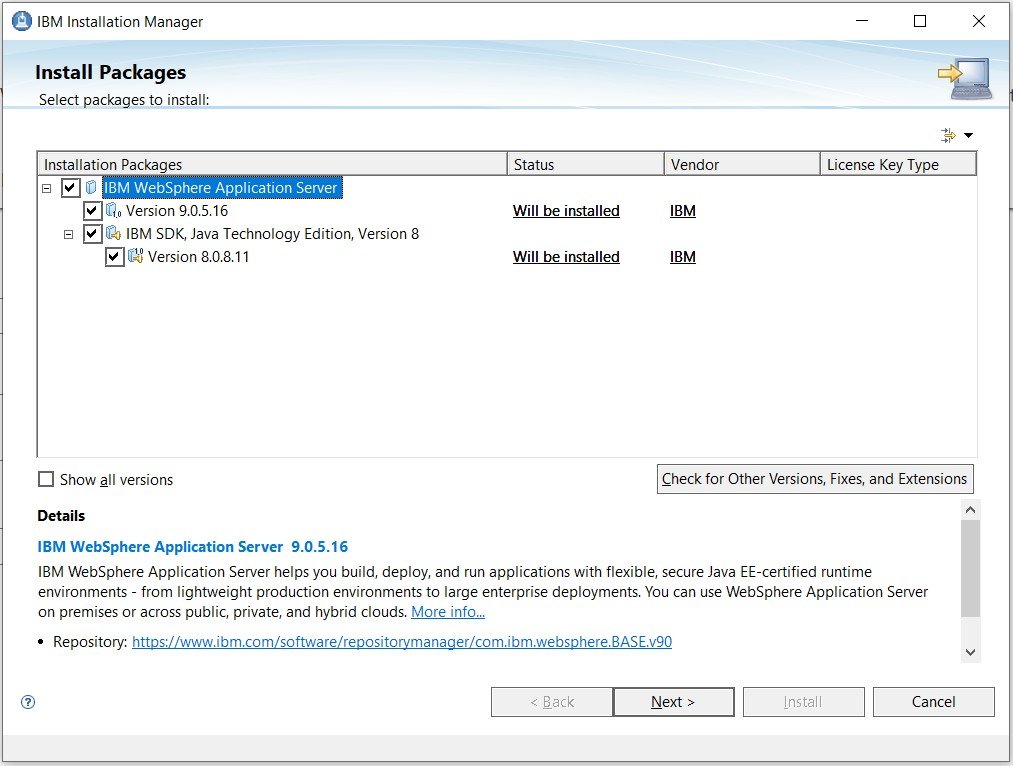
Follow the wizard to install the WebSphere Application server. Click finish when the installation is complete.
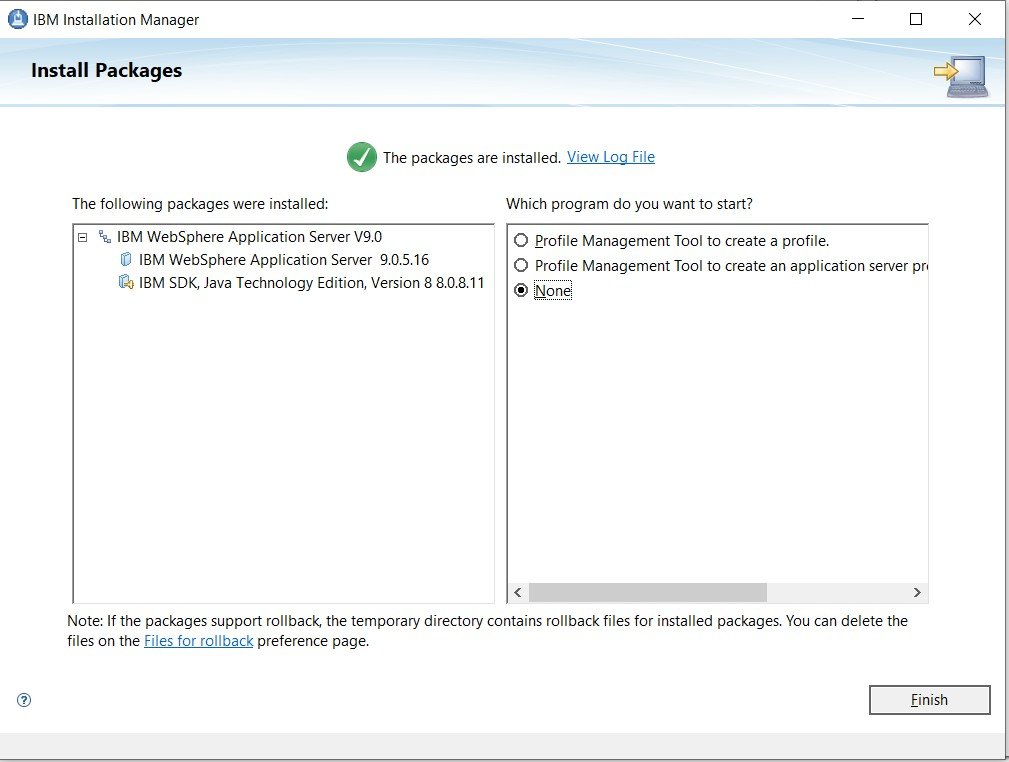
We will create the application profile in the next step.
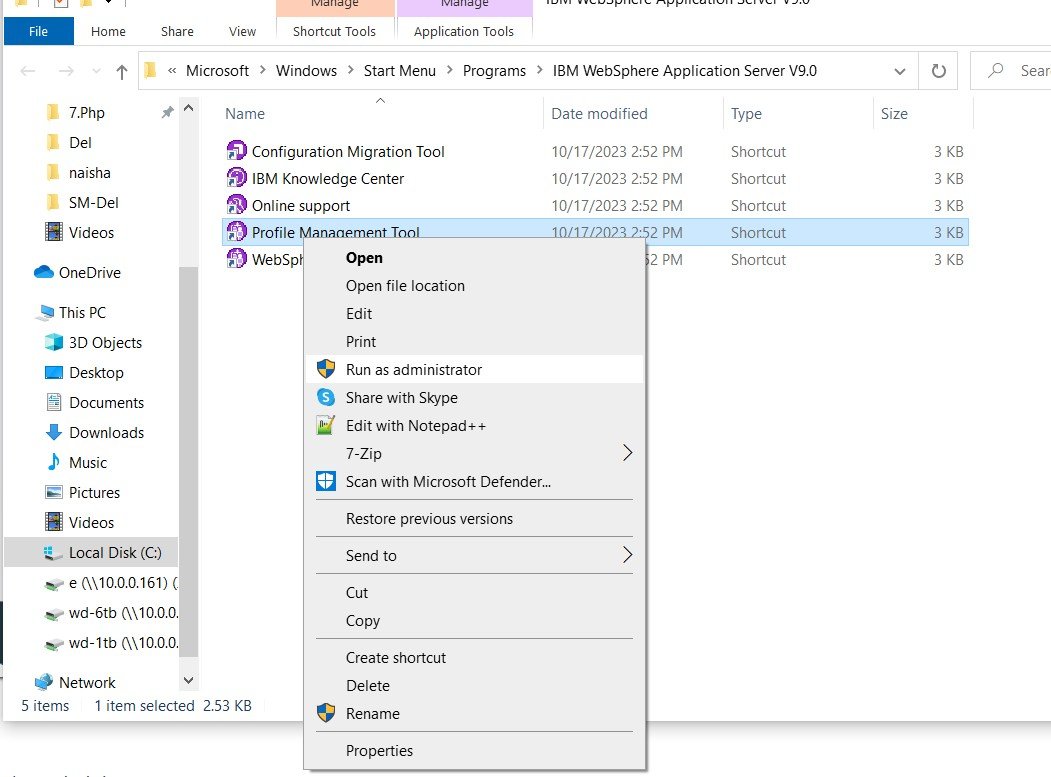
Creating Application Server Profile
Open the profile management tool file location from the start menu

Run the tool as administrator
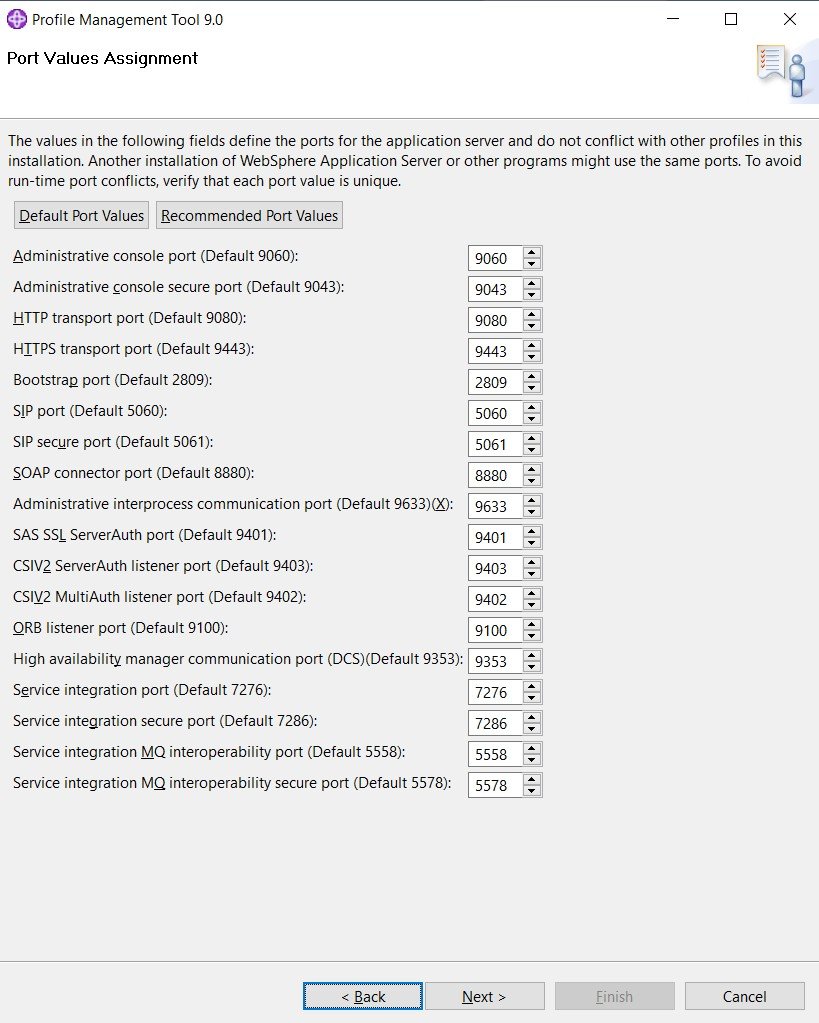
On the wizard, click on create button and select Application server

Note the ports you select on the wizard. Here are the default ports:
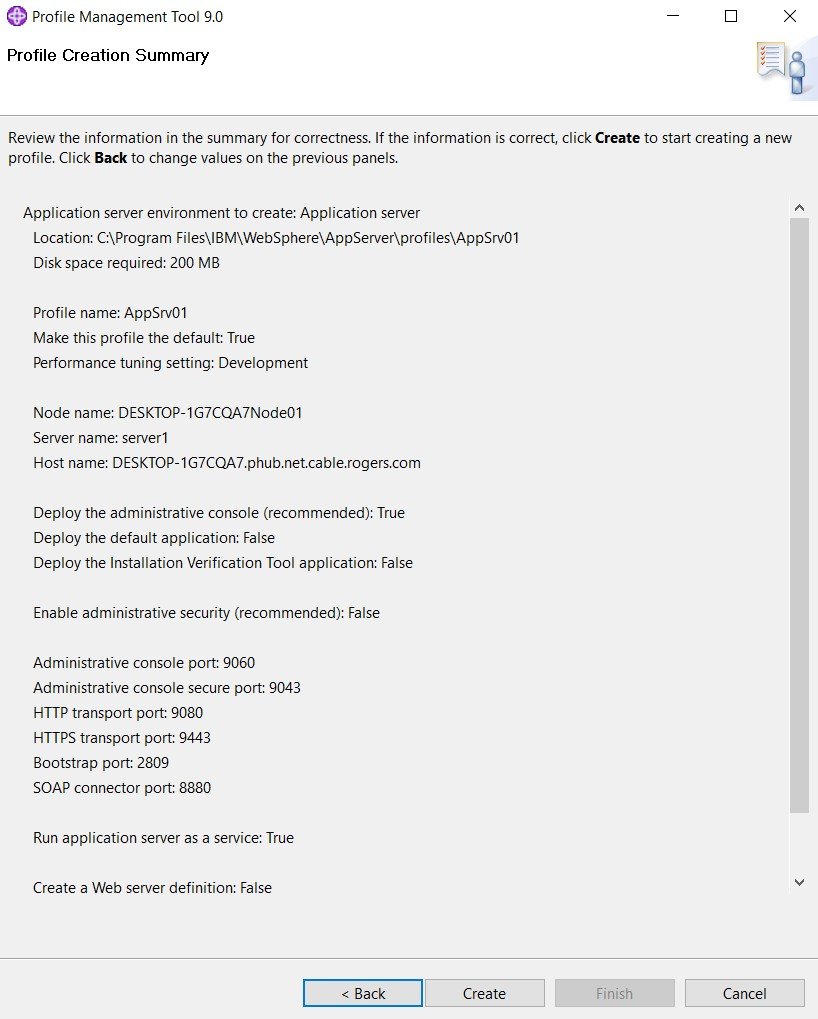
In the last step before creating the profile, not the host name and other details:
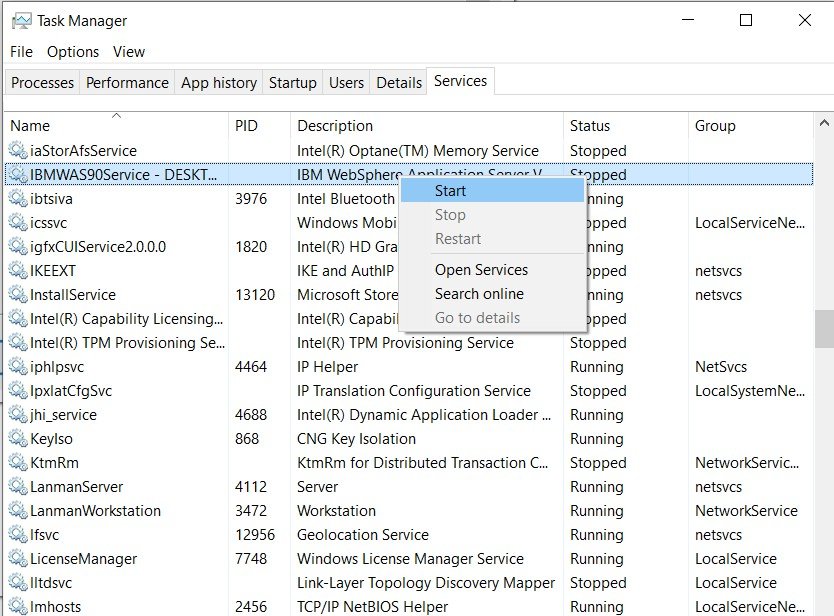
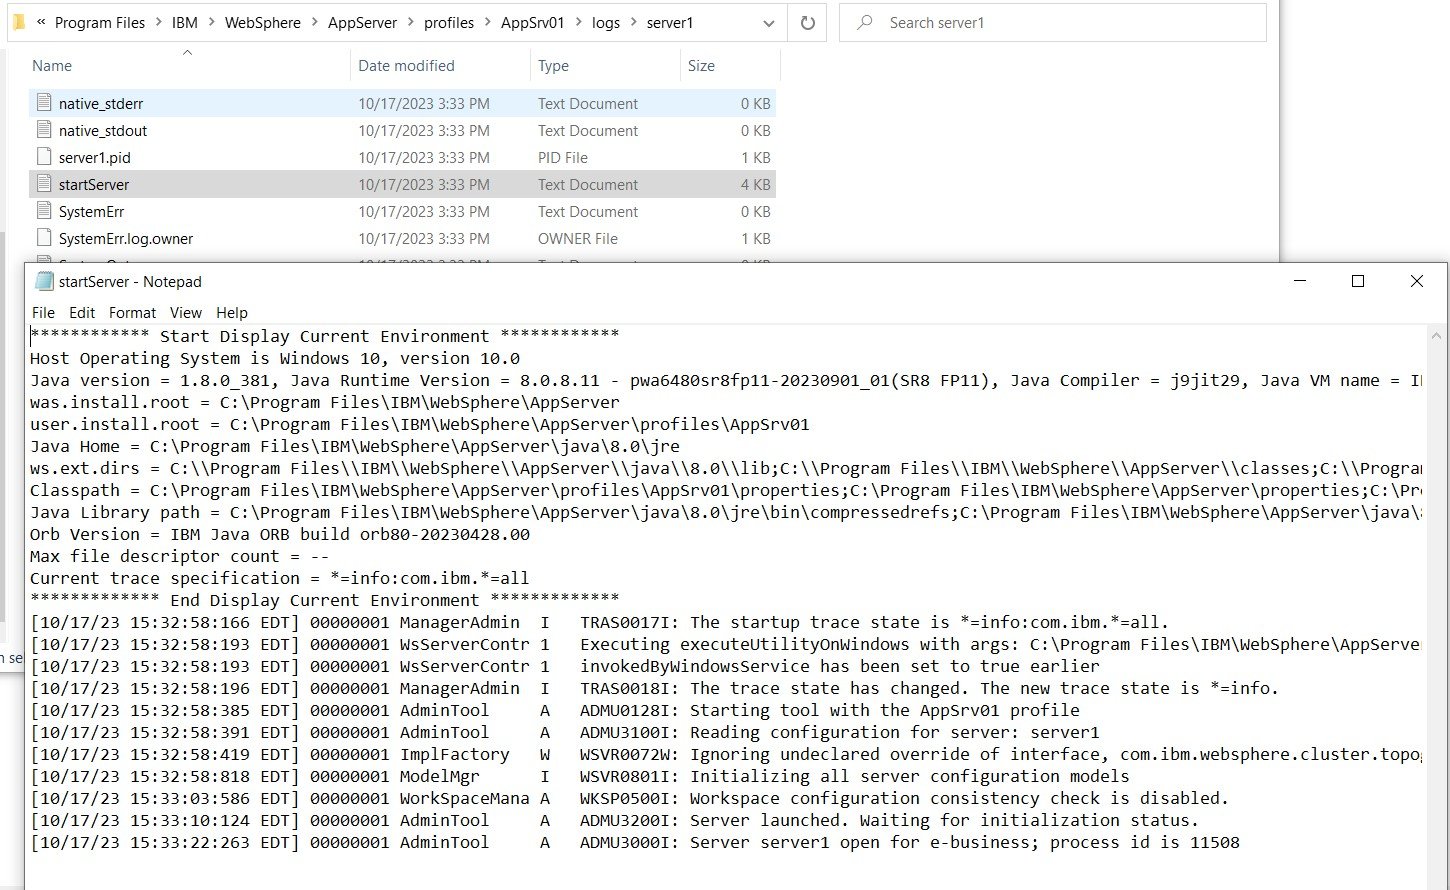
Starting the server
As we set up the profile as Windows service it can be accessed under services. Start the service.
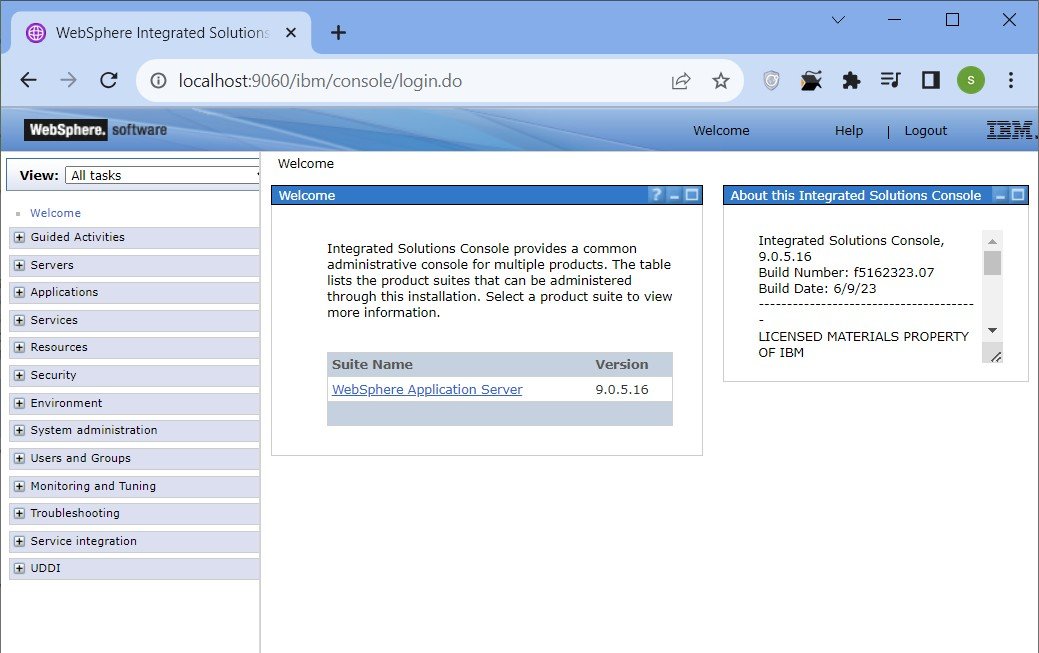
Application server console can be accessed using the console url with provided console port:
http://localhost:9060/ibm/console/unsecureLogon.jsp
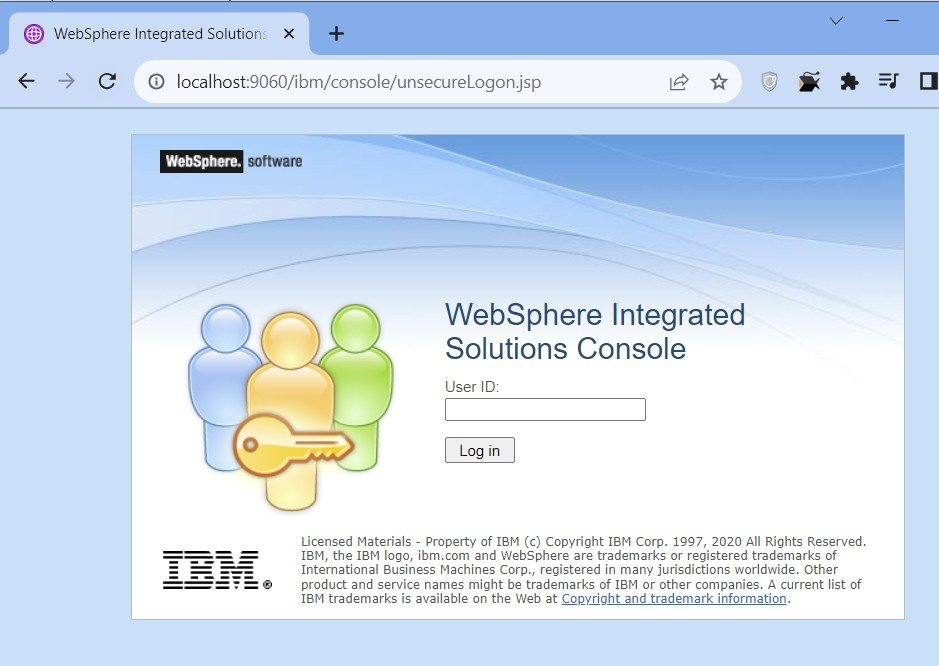
If you disabled security during profile set up you do not have to provide the User ID. Click on Log in to access the console:
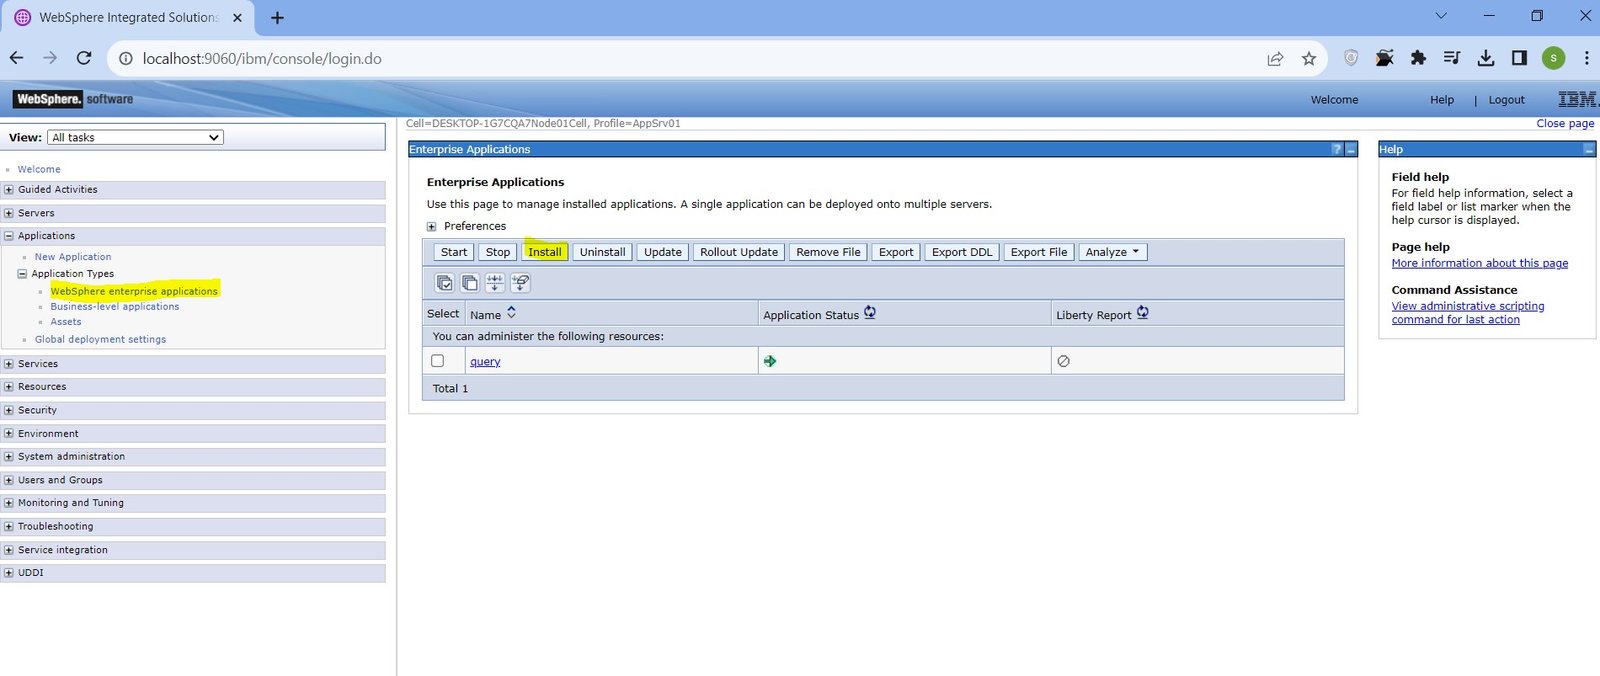
Deploying an application War on the WebSphere server
We are going to deploy sample war file (downloaded from Tomcat website: https://tomcat.apache.org/tomcat-7.0-doc/appdev/sample/) on the WebSphere server.
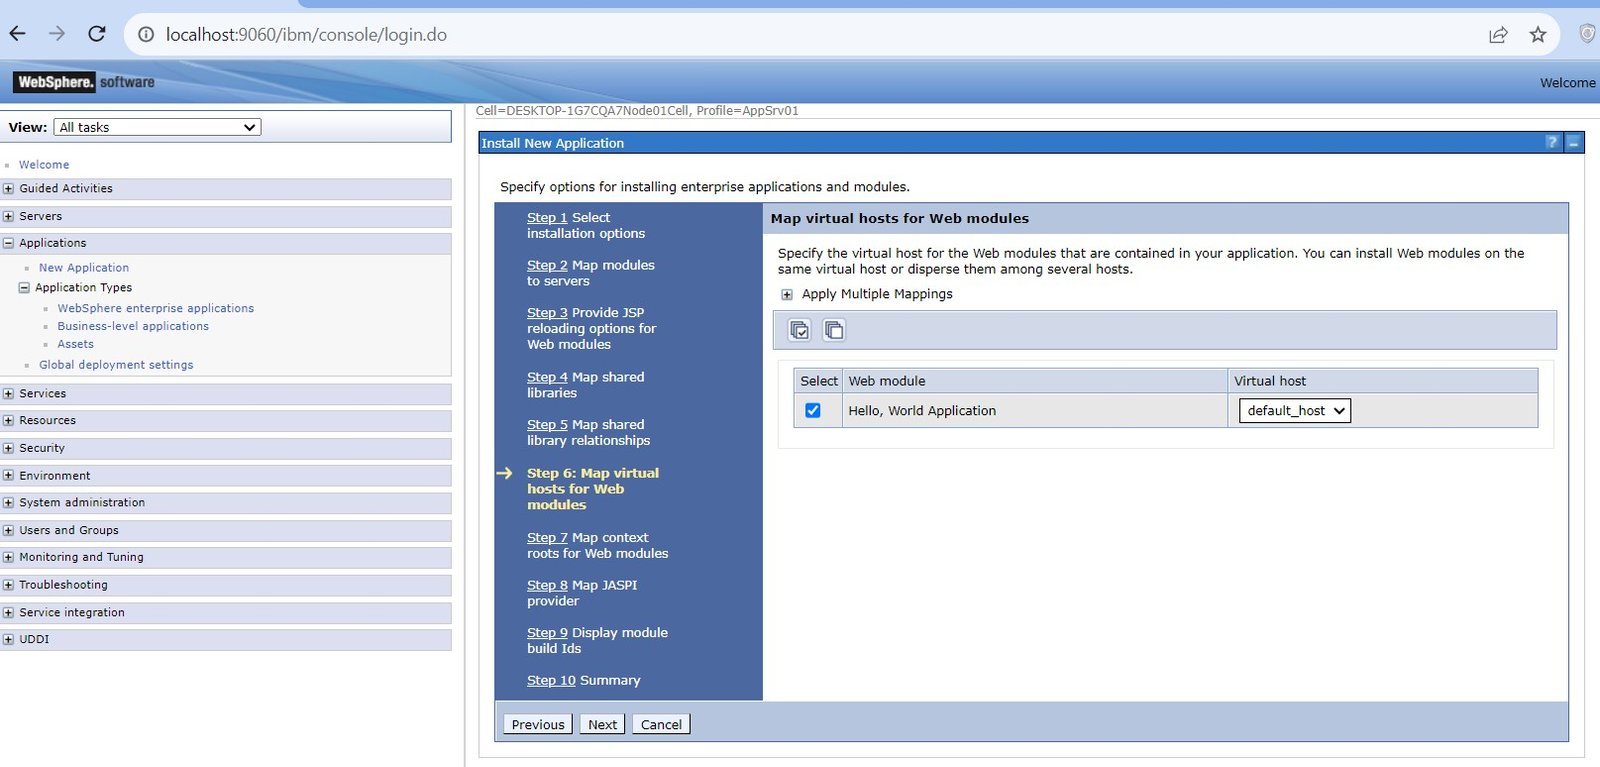
On the application console go to "Applications" expand "Application Type" click on "WebSphere enterprise applications". Click on the "Install" button:
Provide the context path:
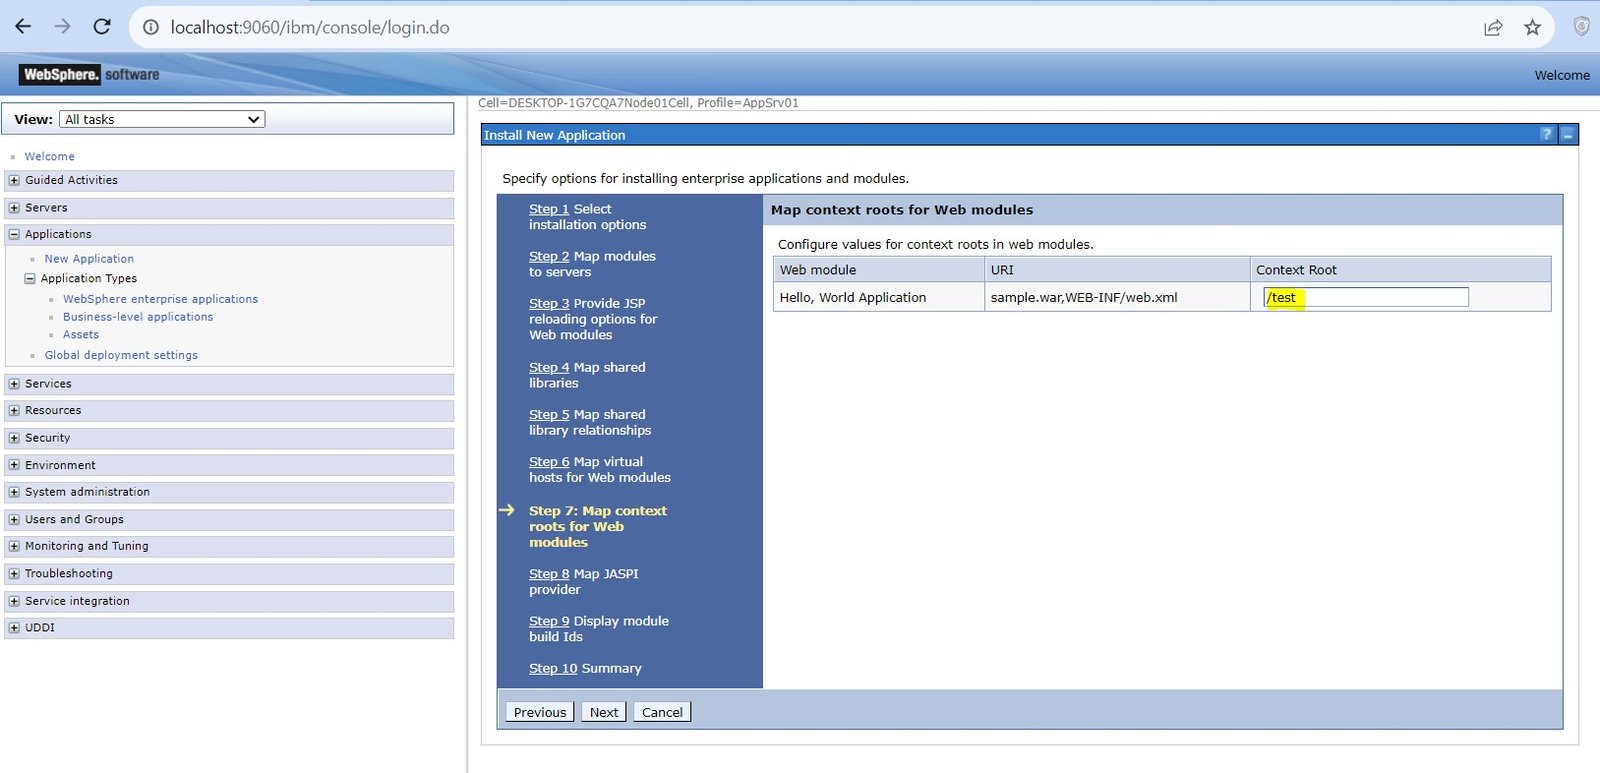
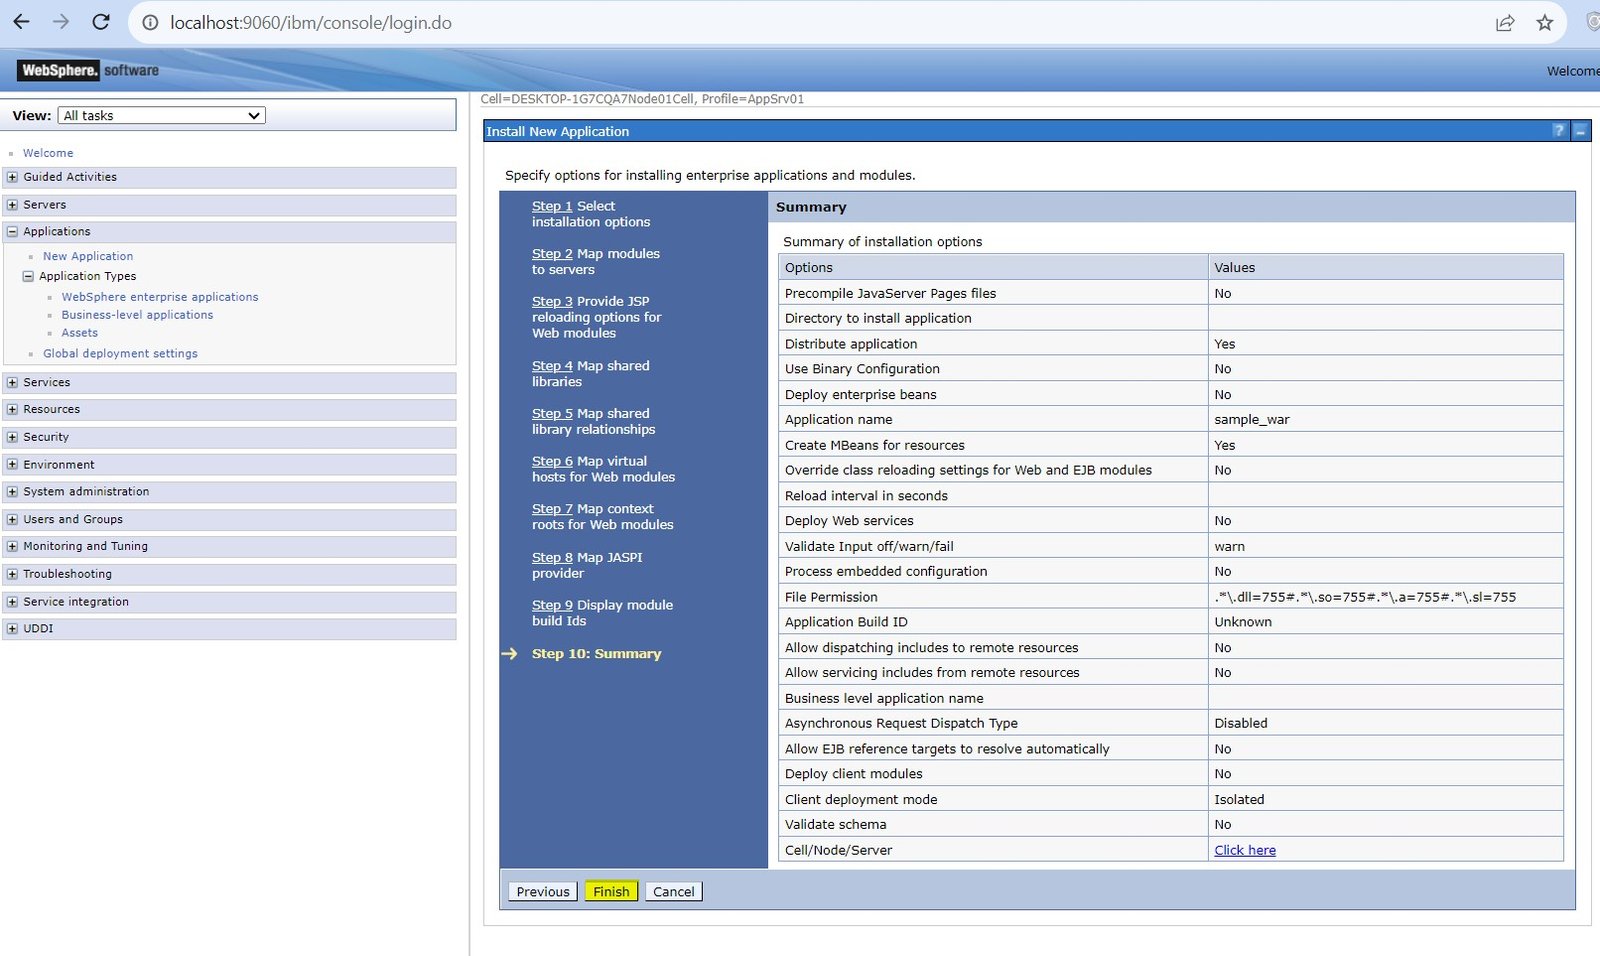
Click on Finish:
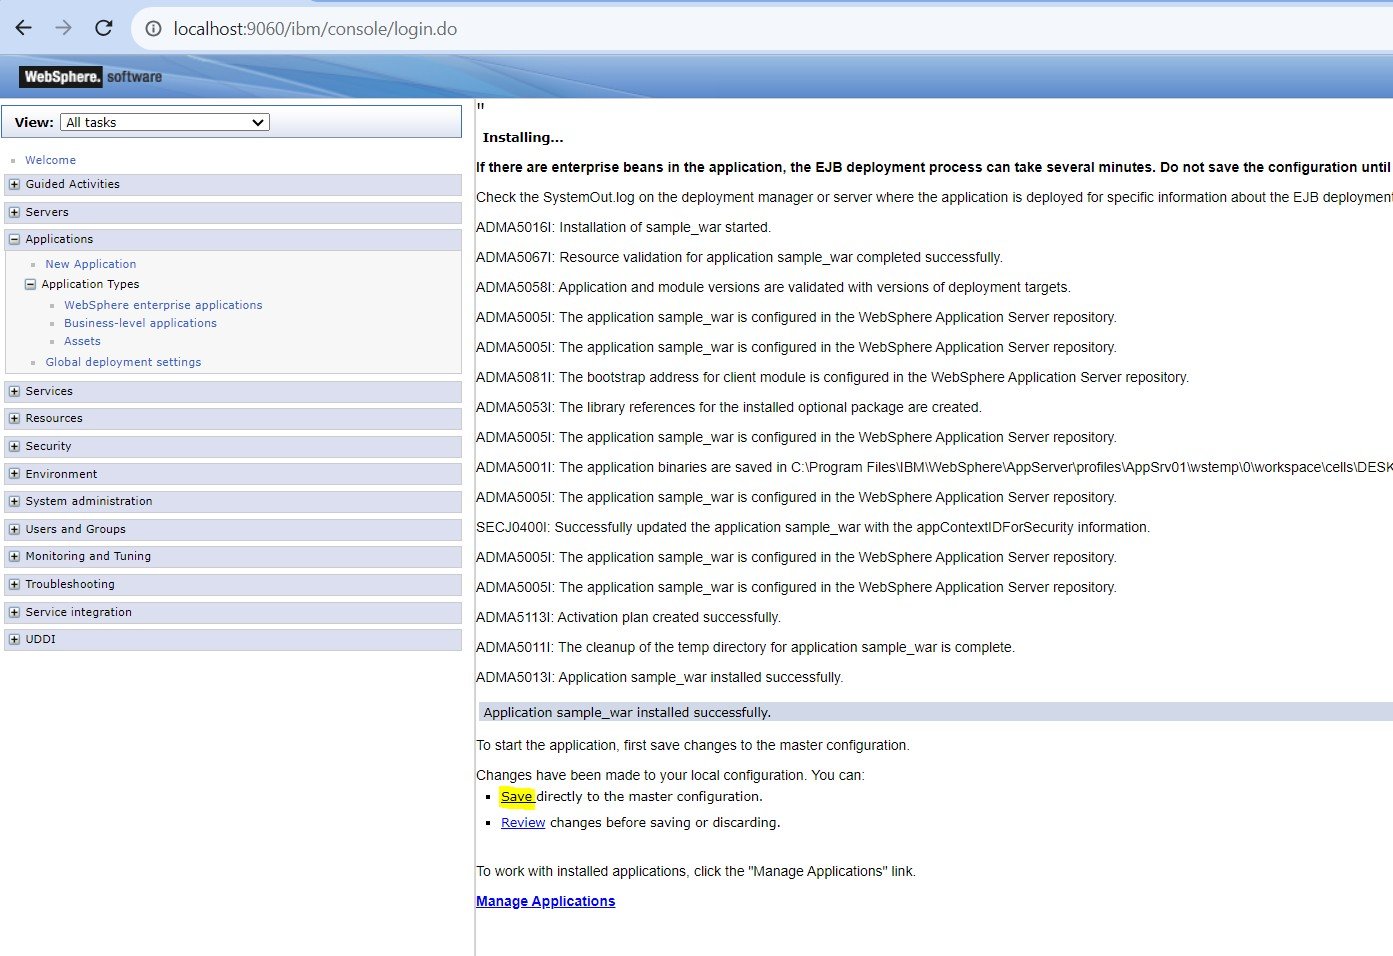
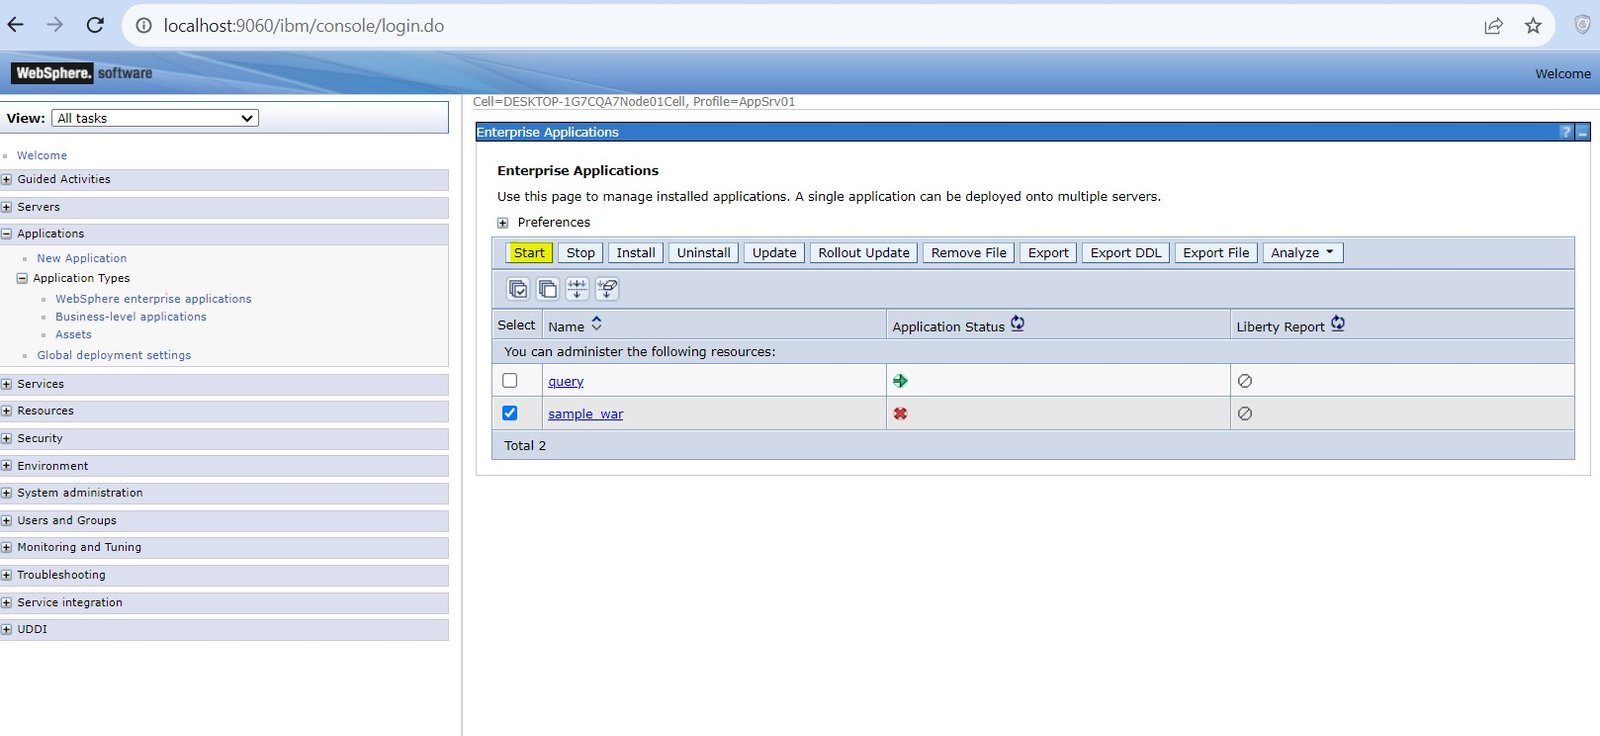
Now start the application:
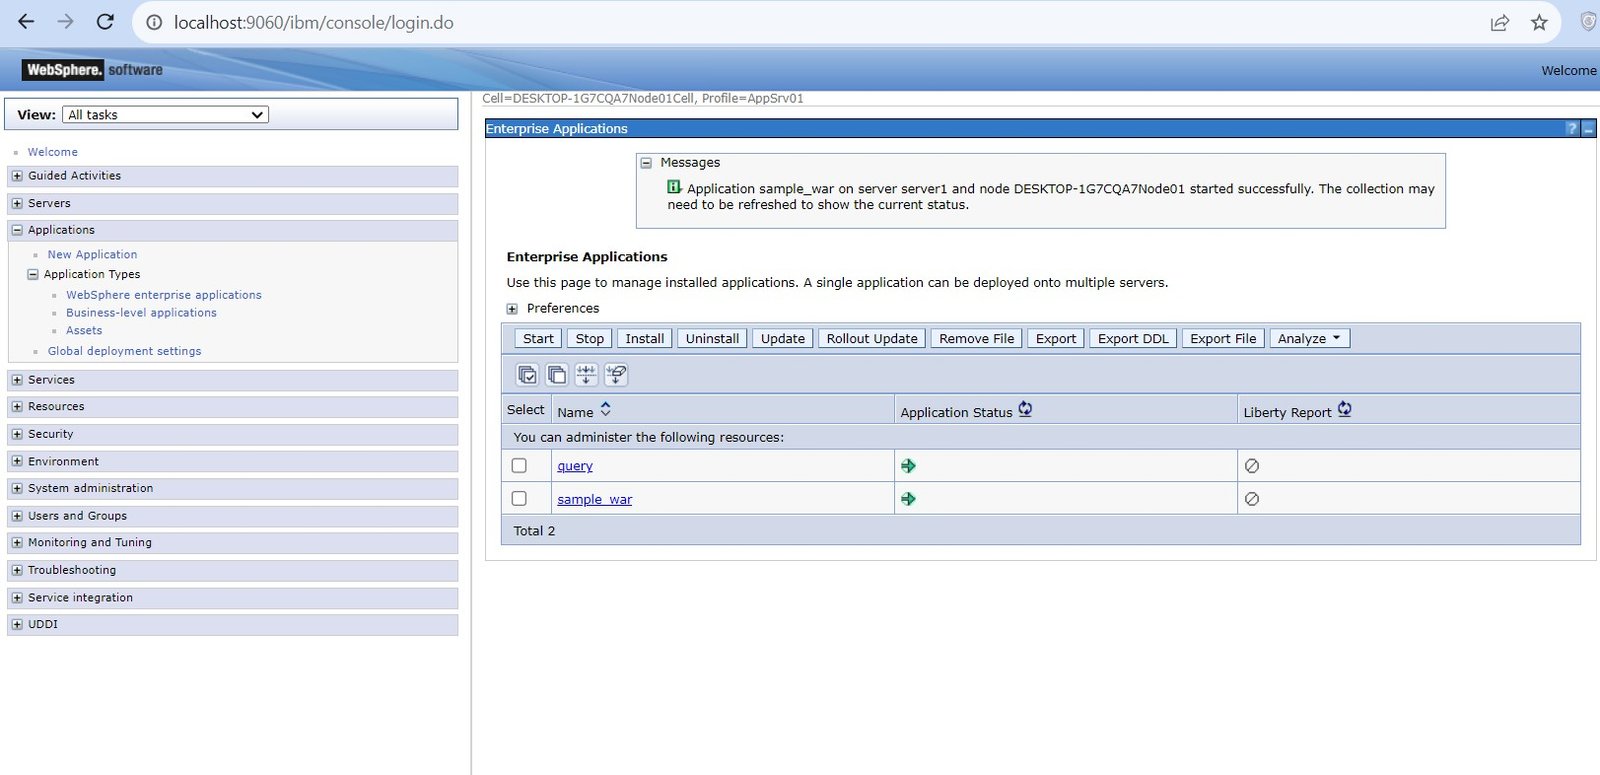
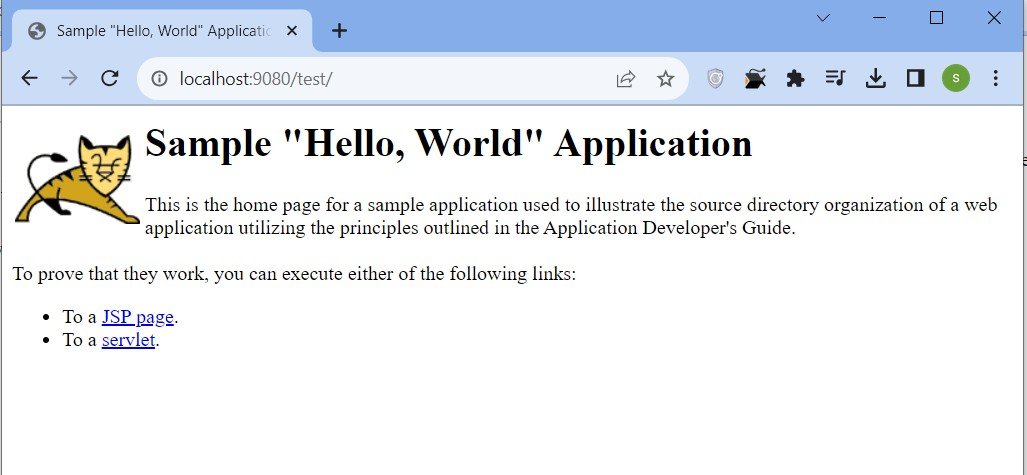
When the application is started, it can be accessed using the application port and context path provided
Leave a Comment