Show List

Installing and configuring Hoverfly

Installing and configuring Hoverfly involves a few steps to get started. Here are the general steps involved:

  1. Check system requirements: Before you begin installing Hoverfly, it's important to ensure that your system meets the minimum requirements. For example, you may need to have a certain version of the operating system or certain dependencies installed.

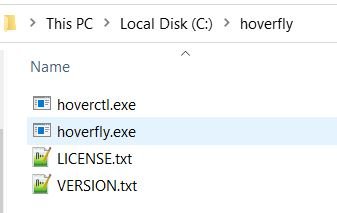
  2. Install Hoverfly: Once you've verified that your system meets the requirements, you can download and install Hoverfly. You can typically do this by downloading a pre-built binary for your operating system and architecture, or by building the software from source.

  3. Start Hoverfly: Once Hoverfly is installed, you can start it by running the
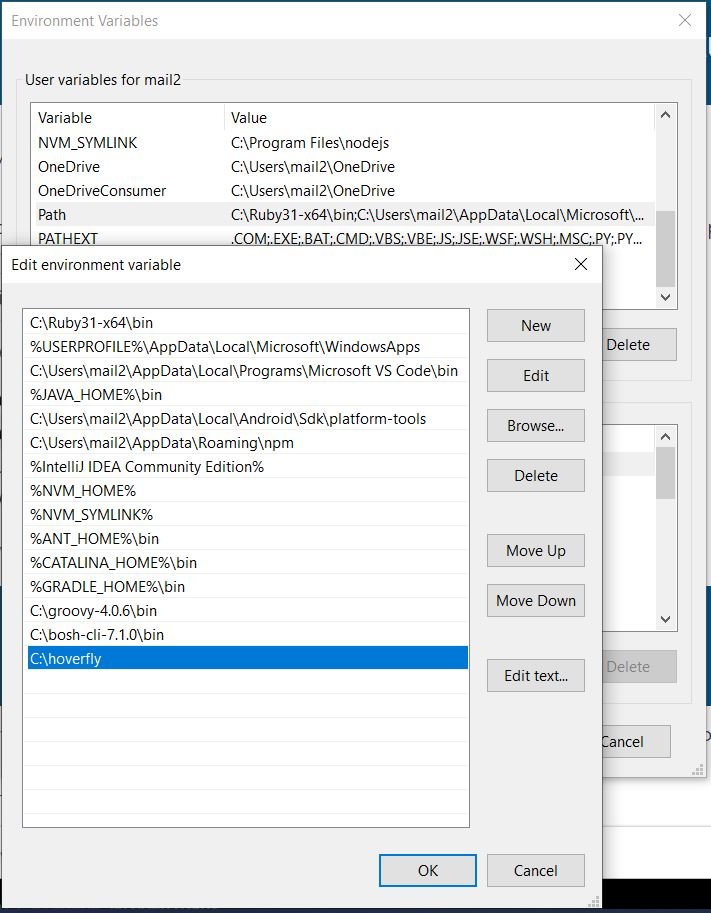
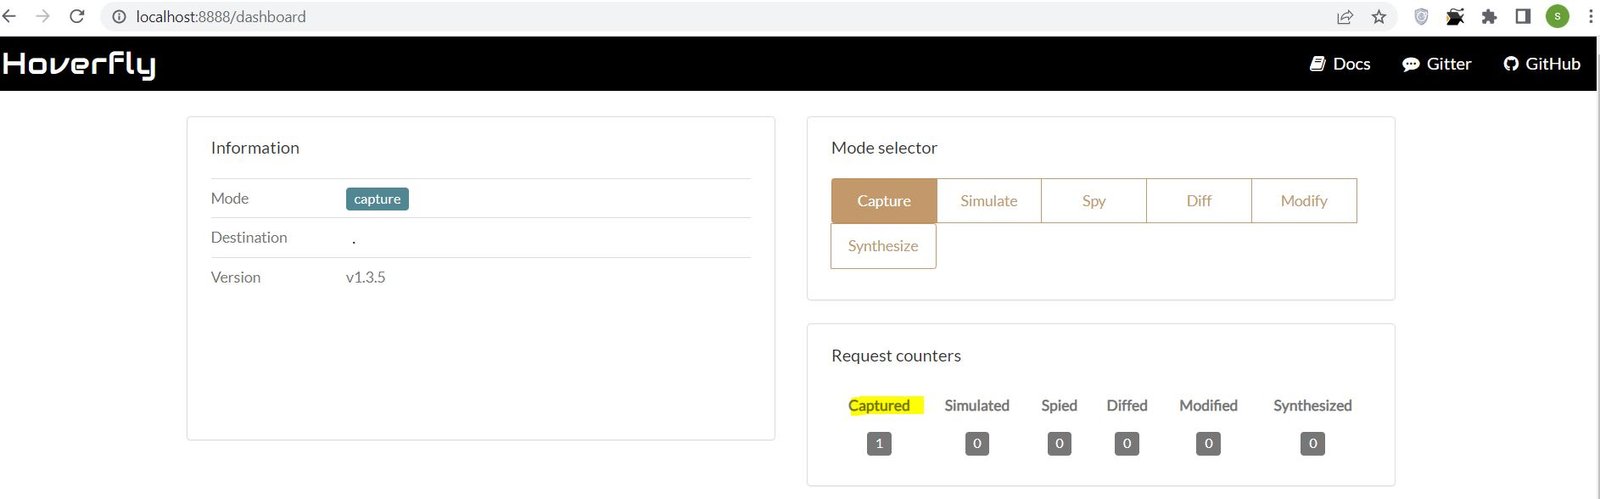
 hoverfly command in your terminal. By default, Hoverfly will start running in "capture" mode, which means that it will start intercepting incoming requests and responses and recording them to a simulation file.

  4. Configure Hoverfly: Hoverfly can be configured in a variety of ways, depending on your needs. For example, you may need to specify which network interfaces to listen on, or which ports to use for incoming and outgoing traffic. You may also need to configure TLS certificates or specify authentication credentials.

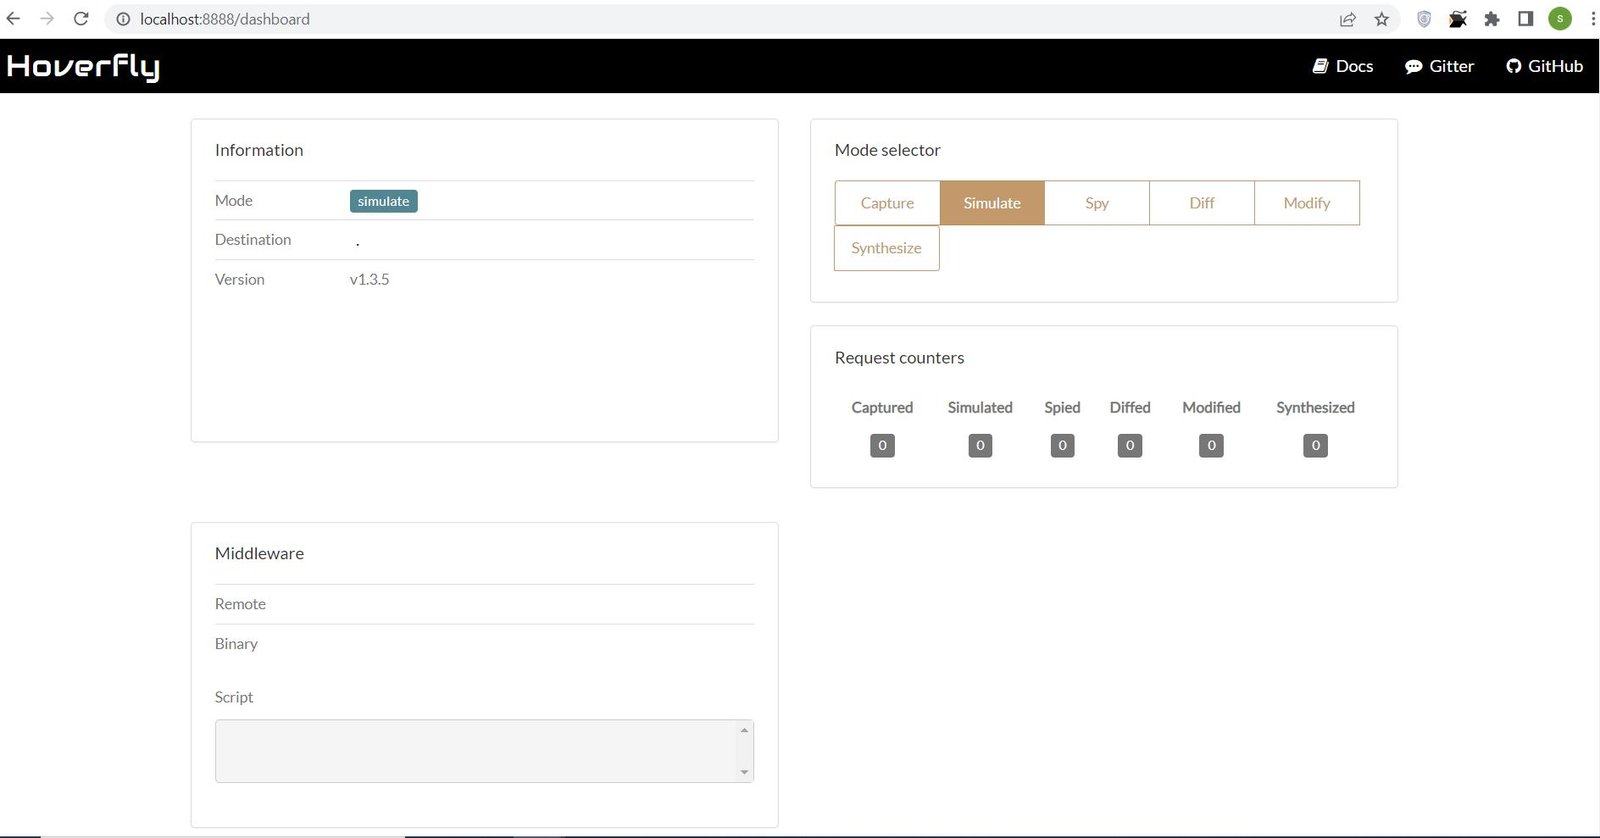
  5. Test Hoverfly: Once Hoverfly is installed and configured, you can test it by sending requests to your application and verifying that the responses are being intercepted and recorded correctly. You can also use the Hoverfly UI or API to view and modify the simulation file.


Demo

In order to run the Hoverfly server, we should have Java installed on the system. If you do not have Java installed, you can follow the steps from  this tutorial

Download the Hoverfly for your operating system from the official page https://docs.hoverfly.io/en/latest/pages/introduction/downloadinstallation.html

Extract the downloaded zip.

Add the extracted files location to the environment variable path.

Running the Hoverfly server

Hoverfly server can be started by running the "hoverctl start" command :

mail2@sm15 MINGW64 /c/hoverfly
$ hoverctl start
Hoverfly is now running

+------------+------+
| admin-port | 8888 |
| proxy-port | 8500 |
+------------+------+

The Hoverfly admin console can be accessed from http://localhost:8888/dashboard. Admin console can be used to switch the mode and monitor the requests.

Capturing Requests and Responses

Change the Hoverfly mode to capture. It can be done from the admin console by clicking on the Capture button or by running the command "hoverctl mode capture"
mail2@sm15 MINGW64 /c/hoverfly
$ hoverctl mode capture
Hoverfly has been set to capture mode

For this demo, we are going to capture requests and response for API end point http://universities.hipolabs.com/search?country=Monaco
Now we are going to mock this request and response so that we get the same response from Hoverfly server by going to the end point "http://localhost:8500/search?country=Monaco" instead of going to the real API end point "http://universities.hipolabs.com/search?country=Monaco".

On Postman, change settings to use Hoverfly as the proxy for the requests. To do this, click on the settings icon at the top and then go to Proxy tab and enter Hoverfly server details as below.
After this, when the requests are sent from the Postman, those will flow through Hoverfly server. As the Hoverfly server is in the capture mode, the requests and response would get recorded. 
The recorded request count also gets updated on the admin console:
The recorded stub can be exported using "hoverctl export filename.json" command:
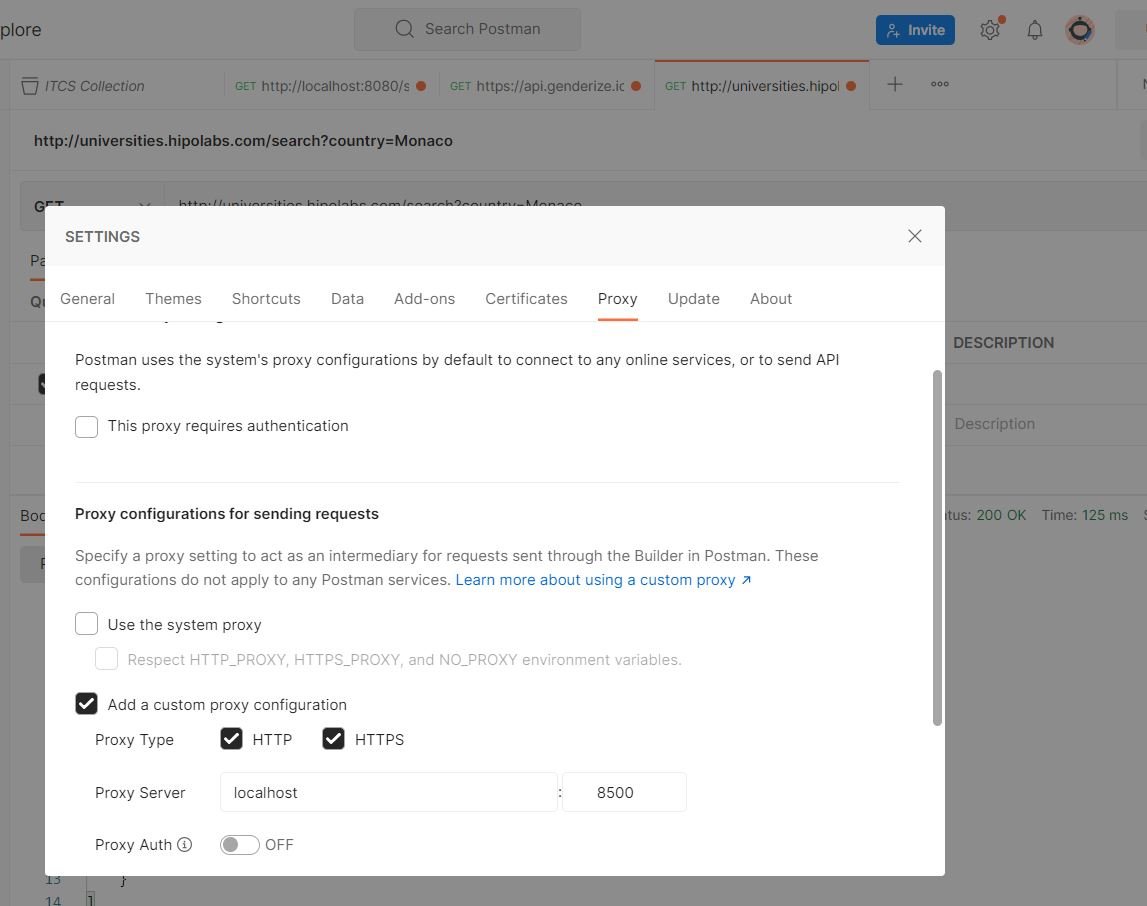
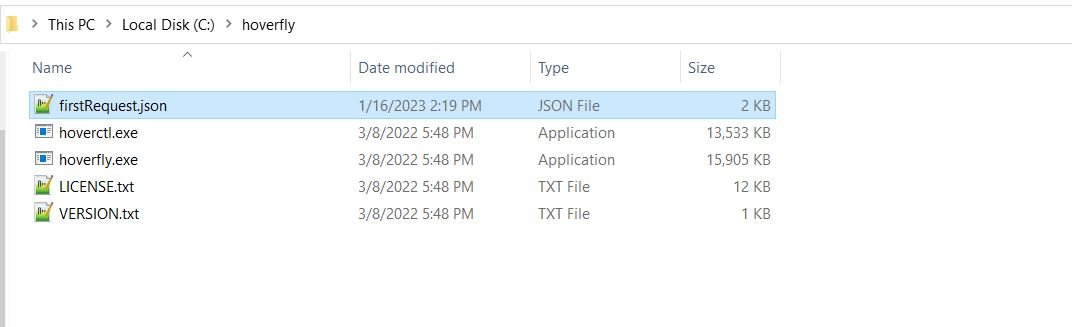
mail2@sm15 MINGW64 /c/hoverfly
$ hoverctl export firstRequest.json
Successfully exported simulation to firstRequest.json
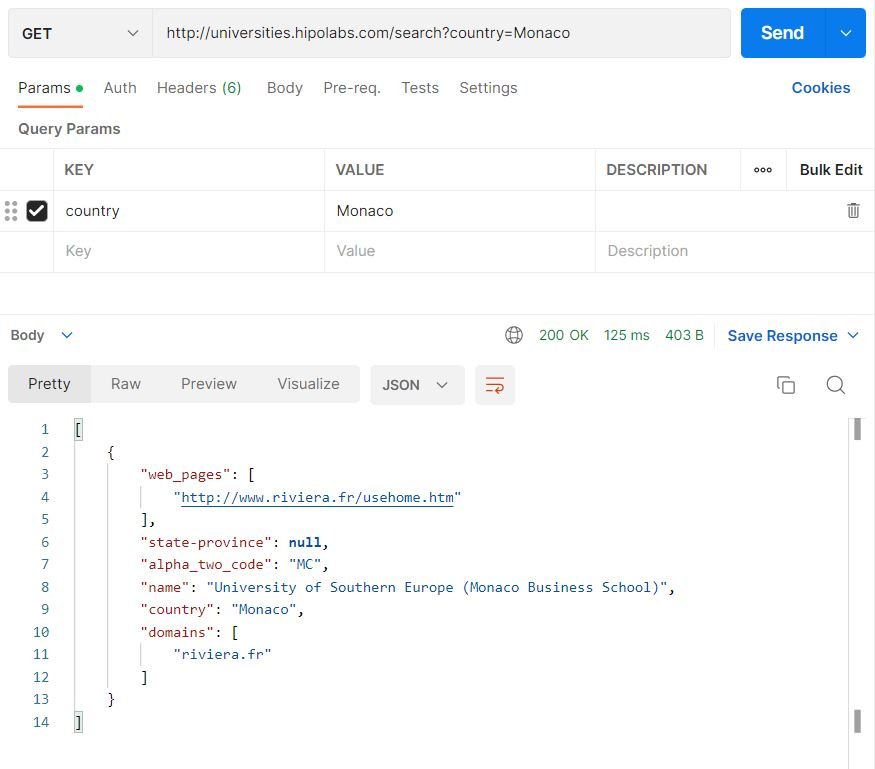
The exported file can be found in the hoverfly folder.
firstRequest.json:
{
    "data": {
        "pairs": [
            {
                "request": {
                    "path": [
                        {
                            "matcher": "exact",
                            "value": "/search"
                        }
                    ],
                    "method": [
                        {
                            "matcher": "exact",
                            "value": "GET"
                        }
                    ],
                    "destination": [
                        {
                            "matcher": "exact",
                            "value": "universities.hipolabs.com"
                        }
                    ],
                    "scheme": [
                        {
                            "matcher": "exact",
                            "value": "http"
                        }
                    ],
                    "body": [
                        {
                            "matcher": "exact",
                            "value": ""
                        }
                    ],
                    "query": {
                        "country": [
                            {
                                "matcher": "exact",
                                "value": "Monaco"
                            }
                        ]
                    }
                },
                "response": {
                    "status": 200,
                    "body": "[{\"web_pages\": [\"http://www.riviera.fr/usehome.htm\"], \"state-province\": null, \"alpha_two_code\": \"MC\", \"name\": \"University of Southern Europe (Monaco Business School)\", \"country\": \"Monaco\", \"domains\": [\"riviera.fr\"]}]",
                    "encodedBody": false,
                    "headers": {
                        "Access-Control-Allow-Origin": [
                            "*"
                        ],
                        "Connection": [
                            "keep-alive"
                        ],
                        "Content-Length": [
                            "216"
                        ],
                        "Content-Type": [
                            "application/json"
                        ],
                        "Date": [
                            "Mon, 16 Jan 2023 19:14:16 GMT"
                        ],
                        "Hoverfly": [
                            "Was-Here"
                        ],
                        "Server": [
                            "nginx/1.14.0"
                        ]
                    },
                    "templated": false
                }
            }
        ],
        "globalActions": {
            "delays": [],
            "delaysLogNormal": []
        }
    },
    "meta": {
        "schemaVersion": "v5.1",
        "hoverflyVersion": "v1.3.5",
        "timeExported": "2023-01-16T14:19:27-05:00"
    }
}

Playing Back the Recorded Requests

Change the Hoverfly mode to simulate either by using the command "hoverctl mode simulate" or from the admin console.
mail2@sm15 MINGW64 /c/hoverfly
$ hoverctl mode simulate
Hoverfly has been set to simulate mode with a matching strategy of 'strongest'

The recorded response can be updated for testing purpose if required. For our testing we are making a small change in the response fields to have the alpha_two_code as "CC" in stead of original "MC".

Here is the code snippet:
"body": "[{\"web_pages\": [\"http://www.riviera.fr/usehome.htm\"], \"state-province\": null, \"alpha_two_code\": \"CC\", \"name\": \"University of Southern Europe (Monaco Business School)\", \"country\": \"Monaco\", \"domains\": [\"riviera.fr\"]}]",
                   

Now load this updated file back on to the server by running command "hoverctl import fileName.json"
mail2@sm15 MINGW64 /c/hoverfly
$ hoverctl import firstRequest.json
Successfully imported simulation from firstRequest.json

Now if we call the same end point, the request will again go through the proxy Hoverfly server. As the server is in simulate mode, it will check if there is any recorded request matching the incoming request. If so, it will return the response.


Stopping the server

Hoverfly server can be stopped by running the "hoverctl stop" command
mail2@sm15 MINGW64 /c/hoverfly
$ hoverctl stop
Hoverfly has been stopped


    Leave a Comment


  • captcha text